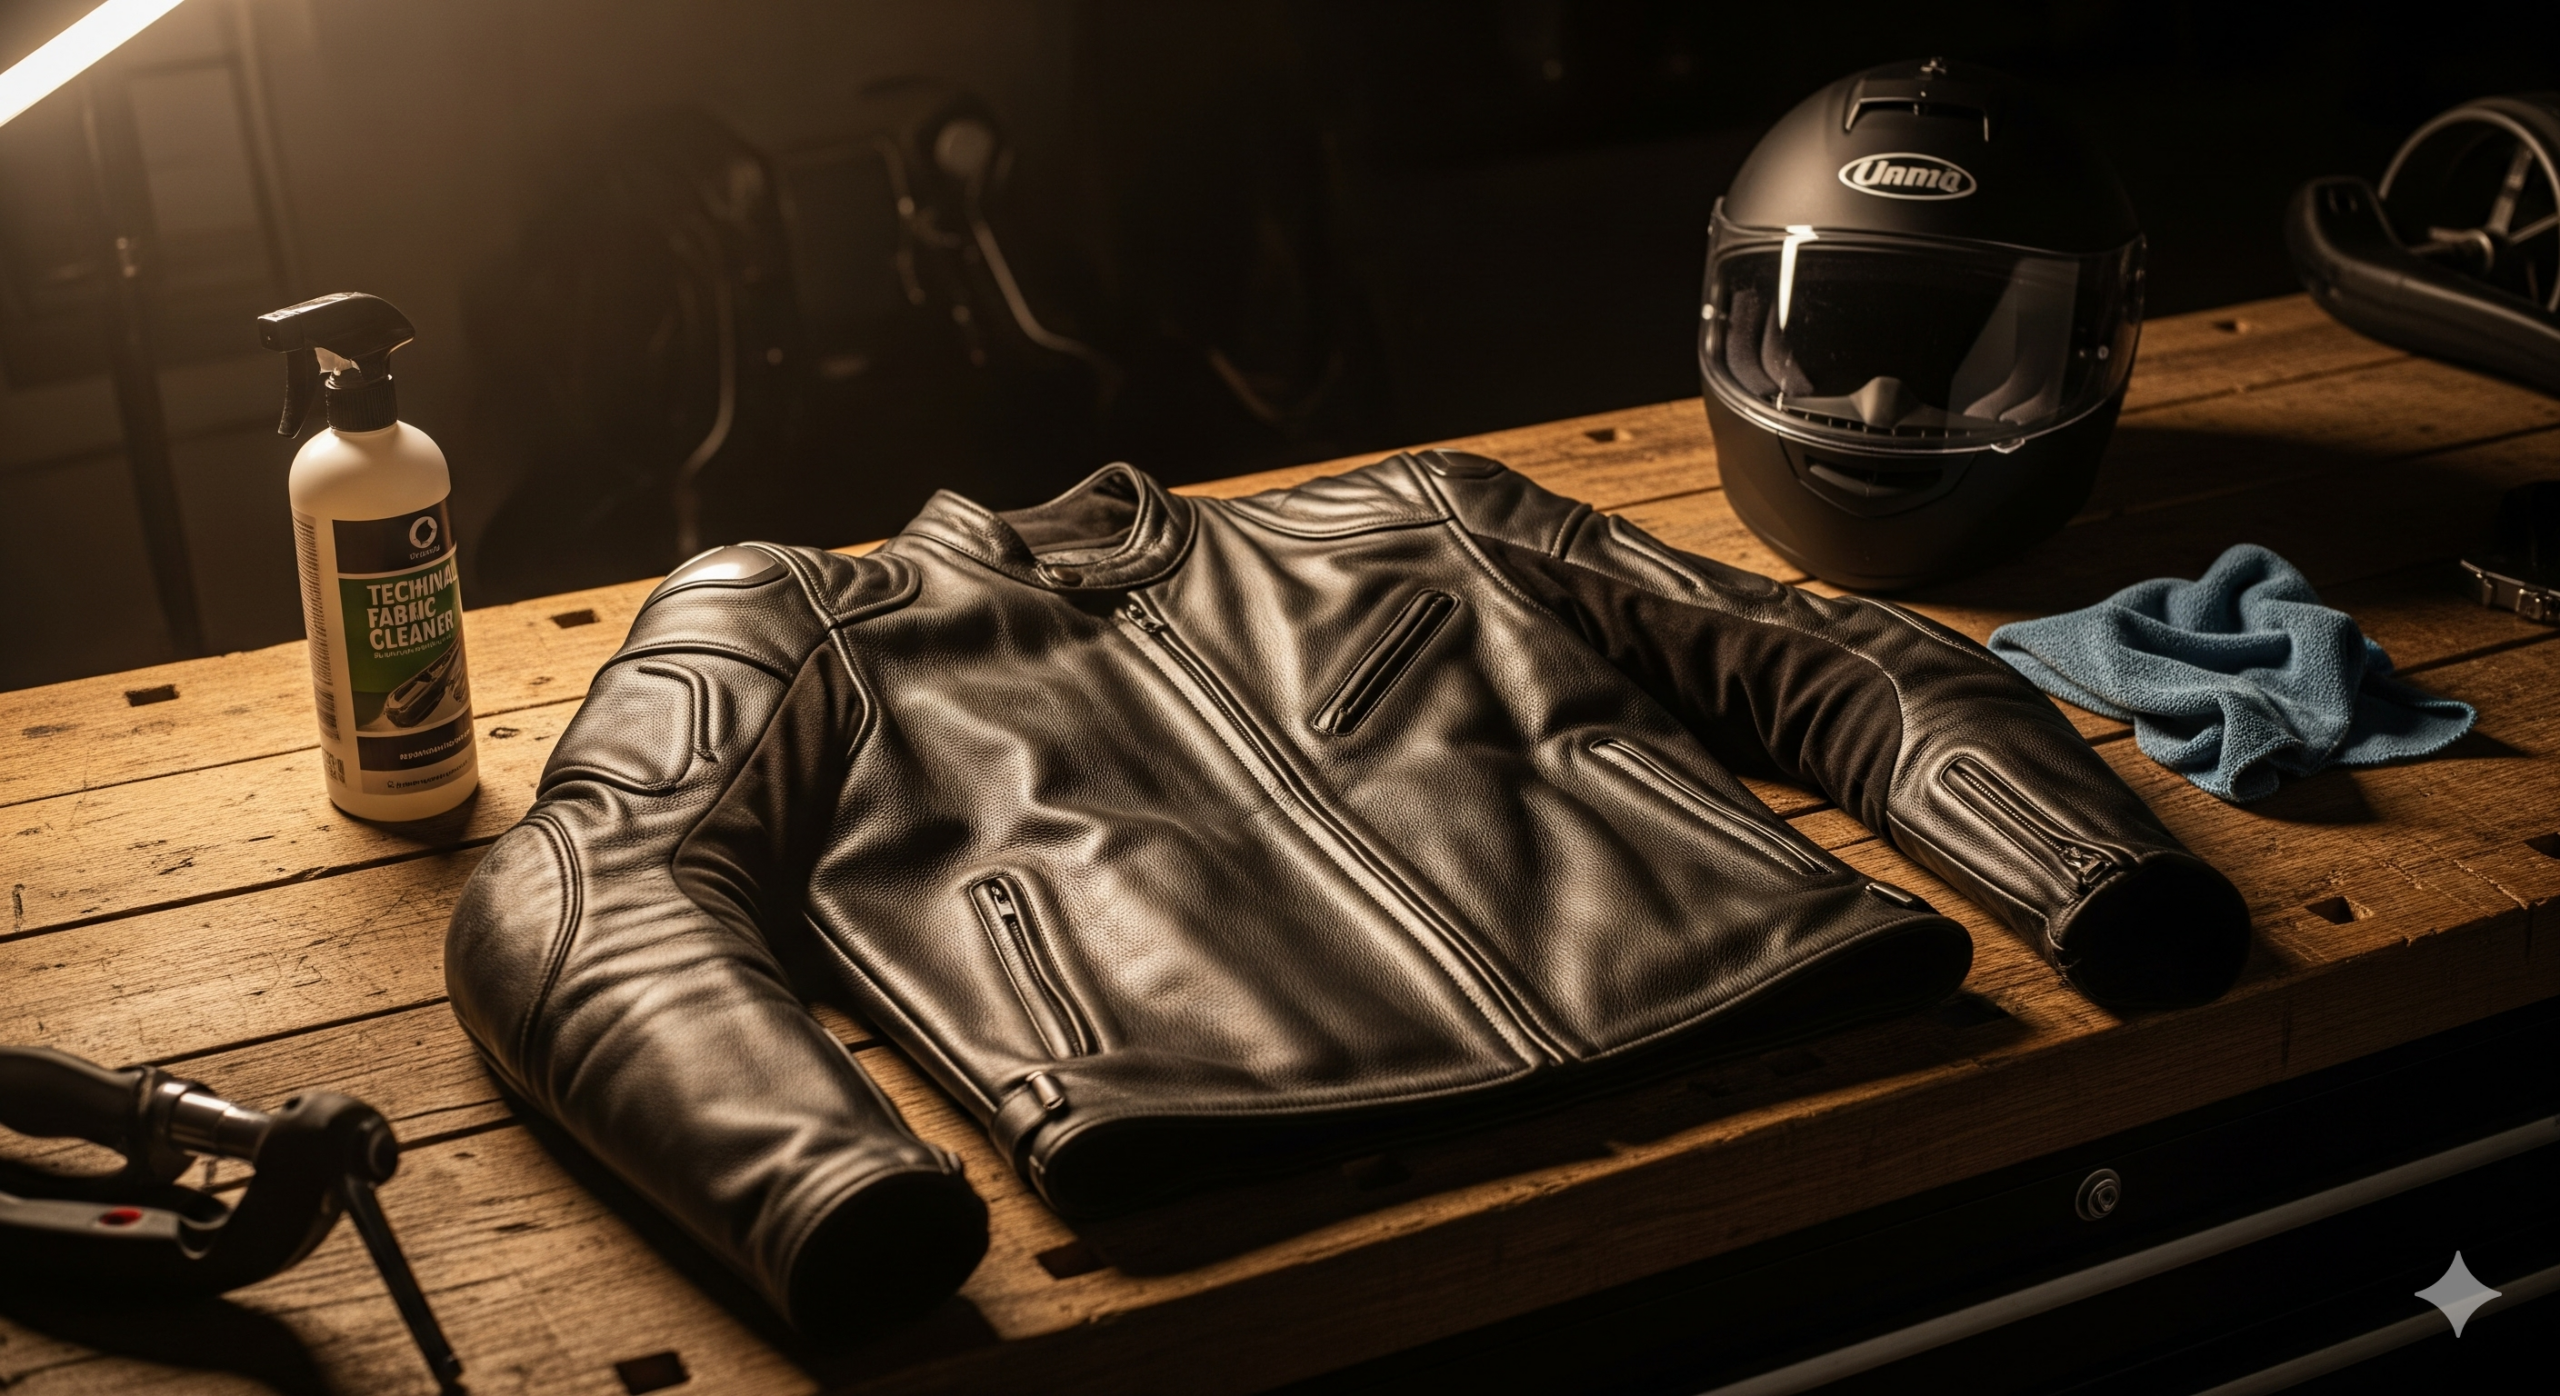
Motorcycle gear maintenance is often dismissed as aesthetic upkeep. This is a fatal error. Maintenance is performance assurance. Accumulated grime, road salts, and sweat degrade technical fibers and leather, chemically compromising the abrasion resistance you rely on.
A zipper failure at 70mph turns a protective jacket into a flailing cape. A dried-out leather chassis will burst at the seams rather than slide. This guide establishes the maintenance protocols required to ensure your equipment functions when the physics of a crash take over.
Textile Armor Systems: Cordura & Gore-Tex
Proper textile maintenance requires removing contaminants that clog breathable membranes and using technical detergents to restore the Durable Water Repellent (DWR) coating, ensuring the gear remains waterproof and abrasion-resistant.
Technical fabrics rely on microscopic pores to breathe while repelling water. Dirt clogs these pores, killing breathability, while standard detergents destroy the chemical coatings.
The Cleaning Protocol
- Armor Removal: This is the mandatory first step. Never wash the armor inserts (see Section 4).
- Detergent Selection: Never use standard powder detergents, bleach, or fabric softeners. These leave hydrophilic residues that attract water. Use dedicated technical cleaners like Nikwax Tech Wash.
- Drying: Air dry only. High heat from a tumble dryer can delaminate waterproof membranes (like Gore-Tex) from the outer shell, destroying the garment.
DWR Restoration
When water stops beading on the surface and starts soaking in (“wetting out”), the Durable Water Repellent (DWR) coating has failed. This must be re-applied using a spray-on waterproofing treatment to restore the gear’s environmental shielding.
Leather Chassis Care
Leather is skin. Like your own skin, it requires a balance of moisture to remain structural. If neglected, it dries out, cracks, and rots, rendering your motorcycle gear maintenance efforts void.
- Cleaning: Remove acidic bug splatter and road salts immediately. These corrosives eat through the top grain. Use a pH-neutral leather cleaner and a soft cloth.
- Conditioning: Apply a dedicated leather conditioner once or twice a season. The goal is to keep the leather “supple,” not “soft.” Over-conditioning collapses the fiber structure, making the leather weak and prone to tearing. Under-conditioning makes it brittle.
- The “Do Not” List: Never dry wet leather in direct sunlight or near a radiator. Rapid drying shrinks the hide and causes immediate structural failure.
Armor Management: Inspection & Upgrades
Your impact protection requires specific care. As detailed in our Armored Motorcycle Gear guide, the armor is the barrier between your joints and the asphalt.
The Golden Rule: Never wash the armor inserts. Most viscoelastic polymers (like D3O or Sas-Tec) are porous. They will absorb water and chemical detergents, which breaks down the molecular bonds, rendering the armor useless.
The Swap Protocol
Most gear comes with pockets allowing for the removal of pads. When reinstalling:
- Orientation: Ensure the “hard” shell side faces outward (toward the road), and the soft side faces your body.
- Inspection: Flex the armor. If you see crumbling, cracks, or if the foam feels brittle and hard, it has expired. Upgrade immediately to CE Level 2 viscoelastic inserts.
Hardware Integrity: The Weakest Link
The strongest Kevlar is useless if the zipper blows out upon impact.
- Zippers: These are mechanical tracks prone to jamming. Lubricate the teeth with paraffin wax or a specific zipper lubricant to prevent tooth separation and ensure smooth deployment.
- Velcro (Hook & Loop): Over time, the “hook” side collects lint and debris, reducing grip strength. Clean this out regularly with a fine-tooth comb or wire brush to ensure the cuffs and flaps stay secured during a slide.
- Snaps and Rivets: Check for corrosion (green or white powder). Corroded rivets will shear off instantly under stress.
Footwear Preservation
Your boots face the harshest environment: asphalt, oil, and engine heat.
- Sole Integrity: Inspect the bond between the sole and the upper chassis. If you see any separation or peeling, the boot has failed. A loose sole creates a trip hazard and offers zero crush protection.
- Shifter Pads: Monitor the wear patch on the left toe. If the shifter wears through the pad, it will quickly eat through the structural leather beneath.
Storage Protocols
How you store your gear in the off-season dictates its lifespan.
- Environment: Store gear in a cool, dry, dark place. UV light is the enemy; it degrades Kevlar, Nylon, and Stitching thread. Never leave gear hanging in a window or the back of a car.
- Posture: Hang heavy jackets on wide, robust hangers. Thin wire hangers will dig into the shoulder armor, permanently deforming the foam.
- Ventilation: Ensure air circulation to prevent mold growth in the liners. Mold eats organic fibers (cotton stitching) and ruins linings.
When to Retire Gear
There is a distinct line between “patina” and “unsafe.” Know when to walk away.
- The Crash Rule: Any gear involved in a slide is retired. No exceptions. Abrasion thins the material, and impact compresses the armor. It has done its job; do not ask it to do it again.
- Textile Fraying: If the weave is opening up or fraying (“furry” appearance), the tensile strength is gone.
- Seam Separation: If you see thread pulling loose at a seam, the burst strength is compromised.
Frequently Asked Questions
Can I dry clean my textile gear?
No. Dry cleaning utilizes harsh chemical solvents that strip the DWR coating and can dissolve the adhesives used in seam sealing. Always wash by hand or use a gentle cycle with technical detergents.
How often should I condition my leather jacket?
Conditioning once at the start of the riding season and once at the end is typically sufficient. If you ride daily in wet weather, increase frequency to prevent drying, but avoid over-conditioning, which weakens the collagen fibers.
Does motorcycle armor expire?
Yes. Even without an impact, environmental factors degrade the foam over time. We recommend replacing armor inserts every 5 to 7 years, or immediately if they show signs of hardening or crumbling.
The Investment
Replacing a jacket is expensive; a skin graft is significantly more so. Treat your gear with the same discipline you apply to your bike maintenance.
For protocols on maintaining your cranial protection, refer to our specific Motorcycle Helmet Safety Guide.